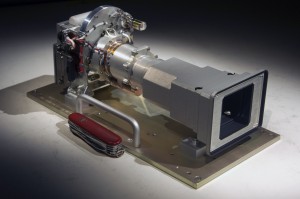
I just recently got my RED Epic back after RED installed the new “Dragon” chip. I borrowed an Epic that still had the MX chip and shot side by side tests to see how much better the Dragon chip actually was. I found a few surprises.
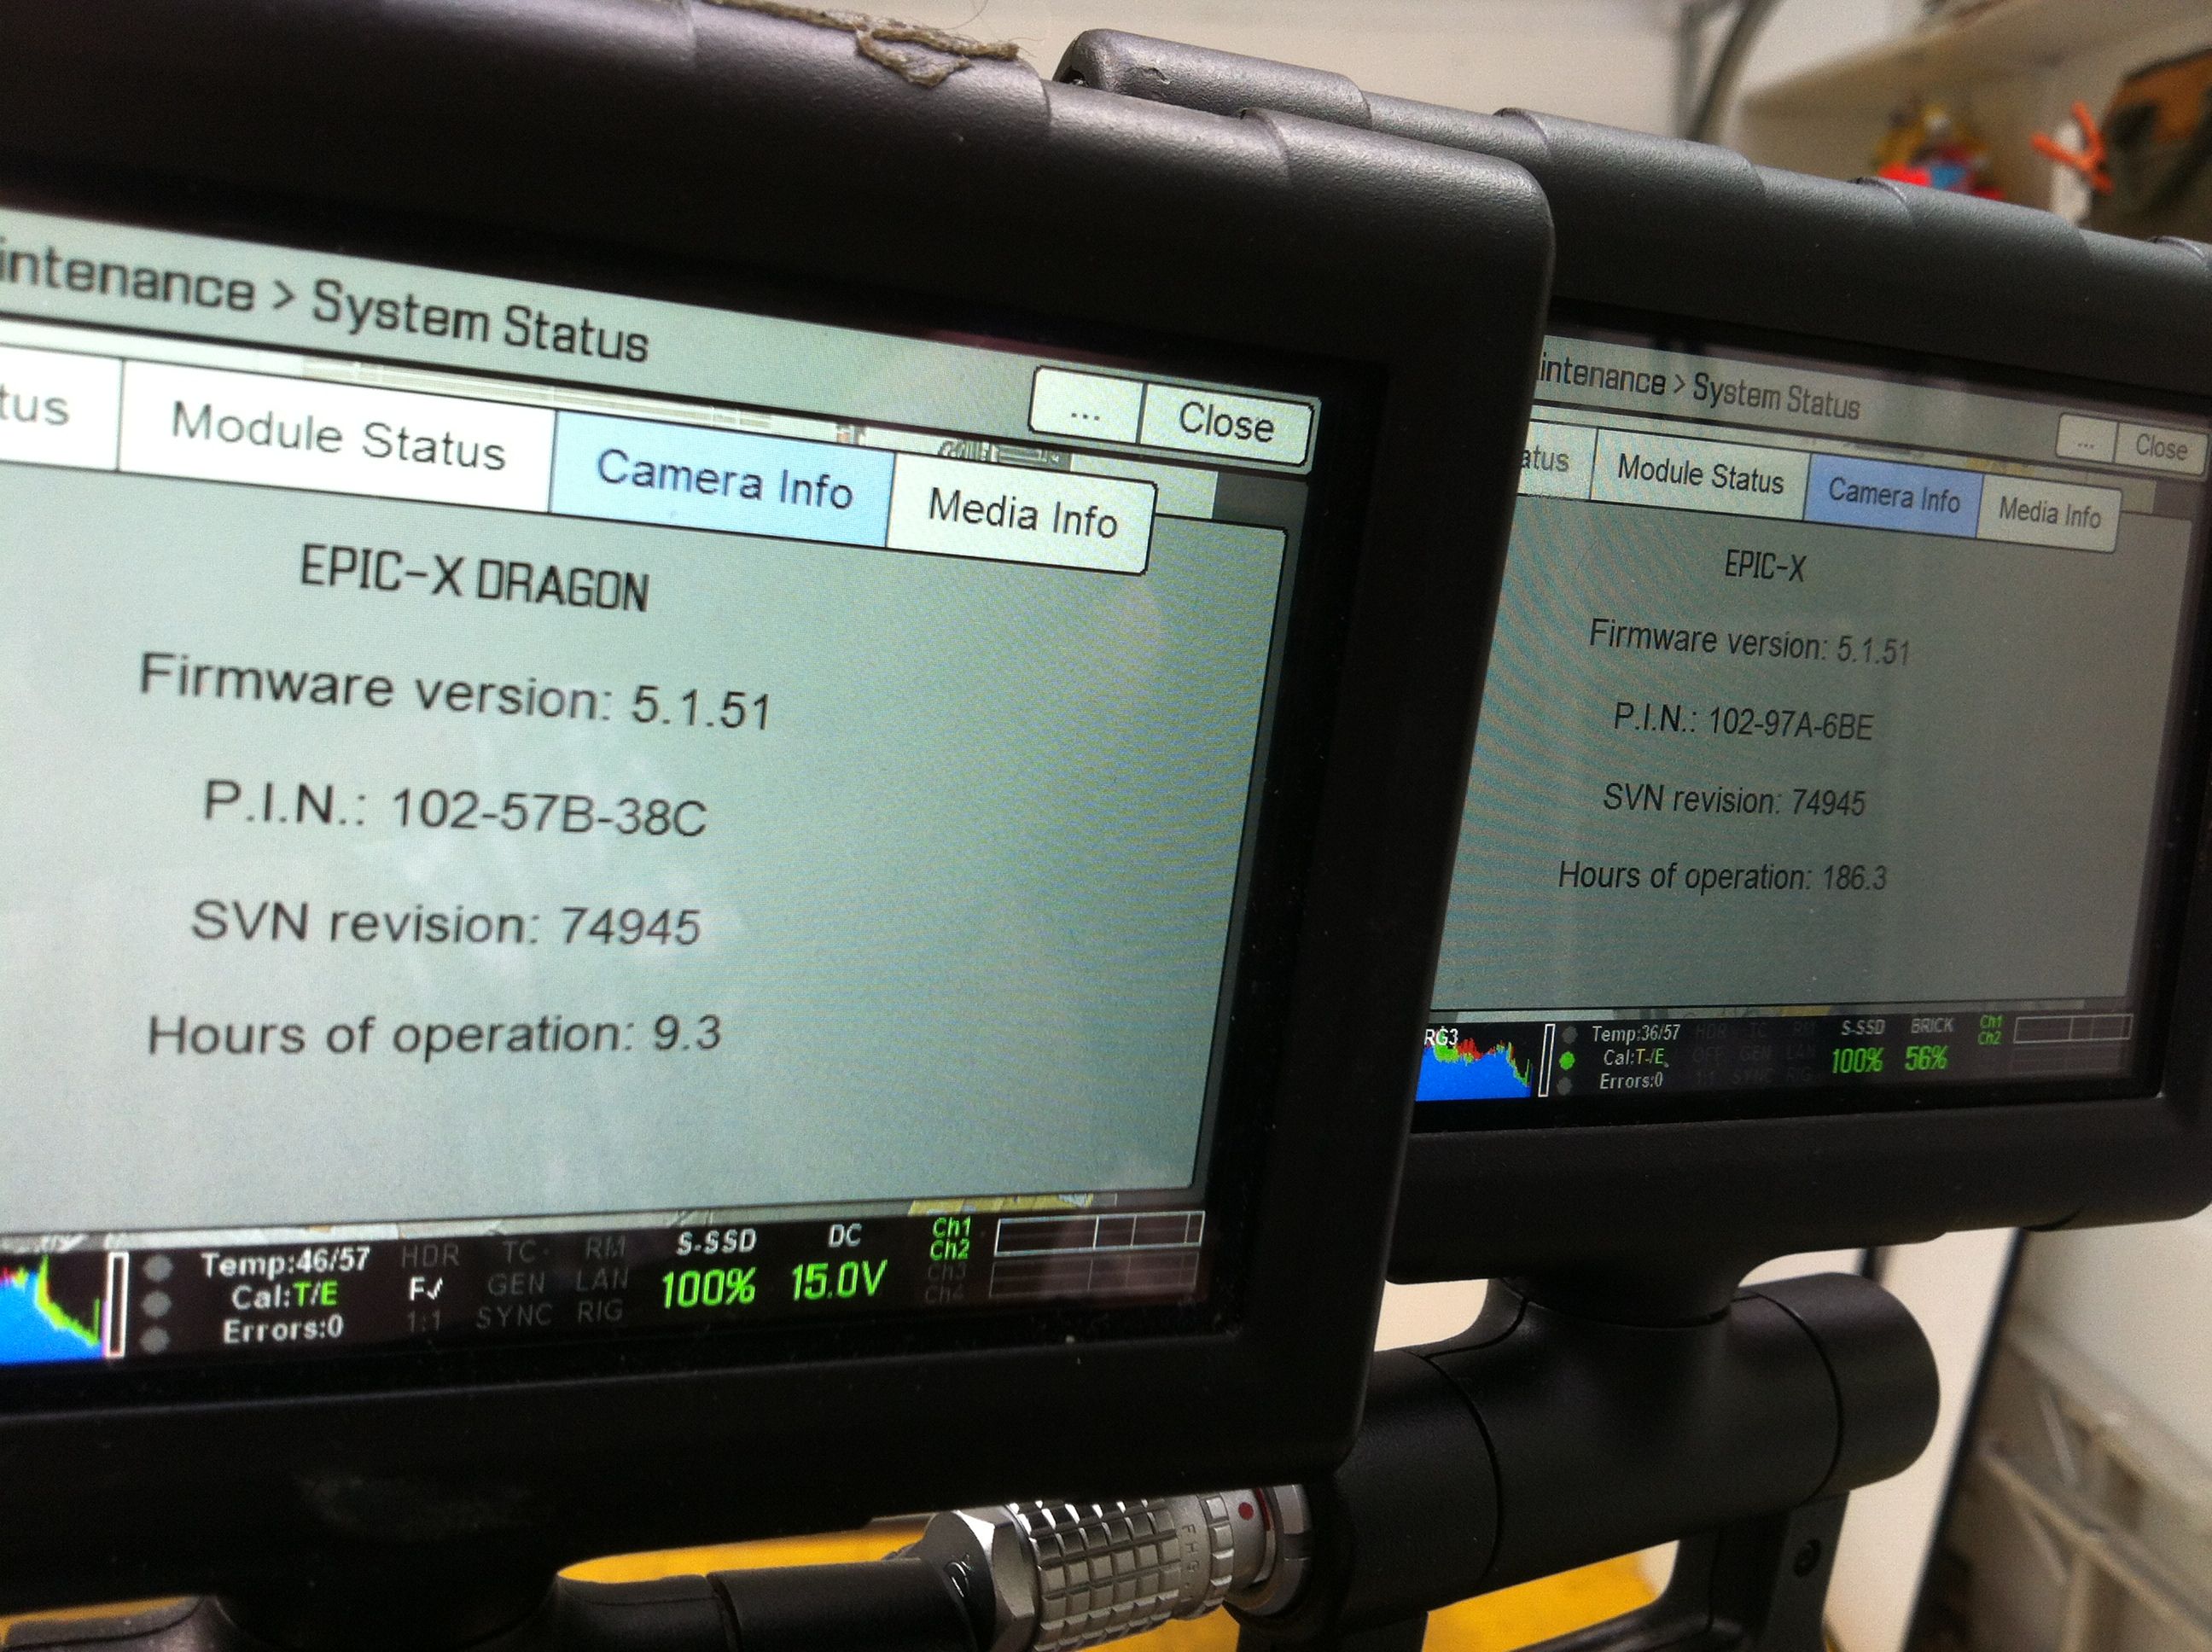
First off, I updated both cameras to the current release builds 5.1.51 and black shaded both of them after cameras had reached operating temp at adaptive at 65c.
 the weather was a bit unsettled (as it always seems to be when I seem to have time to do these tests) so I decided to put on a 35mm Red Pro prime on the Epic MX and a 50mm RPP on the Dragon and move the cameras a bit to mimic same frame size of midground so I could roll both at the same time so exposure would be identical. I set them for the same stop, which if I recall was something like f 8 1/3. according to the false color overlay the Dragon had more info in the highlights before clipping. In fact a small patch of white sky which clipped on the MX was apparently not clipping in the Dragon. I shot myself in my garage workspace that has diffused top light and a nice window for testing overexposure. If I shoot in the afternoon there is a piece of an apartment building across the street that gets hit with sun, providing an excellent detail/ overexposure test element. People have complained in the past about RED’s rendition of skin tones. I think this is wildly overblown. I have never had an issue with it, at least under daylight color temps, which is how I shoot the majority of my stuff. The Dragon is supposed to be much better. I did not notice much of a difference, nor did I see any problems with the old one. One note is that with the new chip comes some new settings in REDCine, the app that lets you “develop” the Raw footage from the camera. before Dragon there was “Redcolor 3” for color rendition, and “REDgamma 3” for gamma. With Dragon there now is “Dragon Color” and “REDgamma 4.” while I think you should use Dragoncolor for rendition off a dragon chip, don’t be fooled into thinking REDgamma 4 is automatically better. It tends to be a bit crunchier than REDgamma 3 which under normal circumstances helps make a punchier image, but when testing over under exposure range, may fool you into thinking the Dragon chip has even less range than the Regular Epic. Of course, professional graders probably would just use REDlogfilm (which is flat and holds onto the most range) and make their own curve based on the scene. but in this case I wanted to do a relatively unbiased side by side test.
Below are some interesting screen grabs:
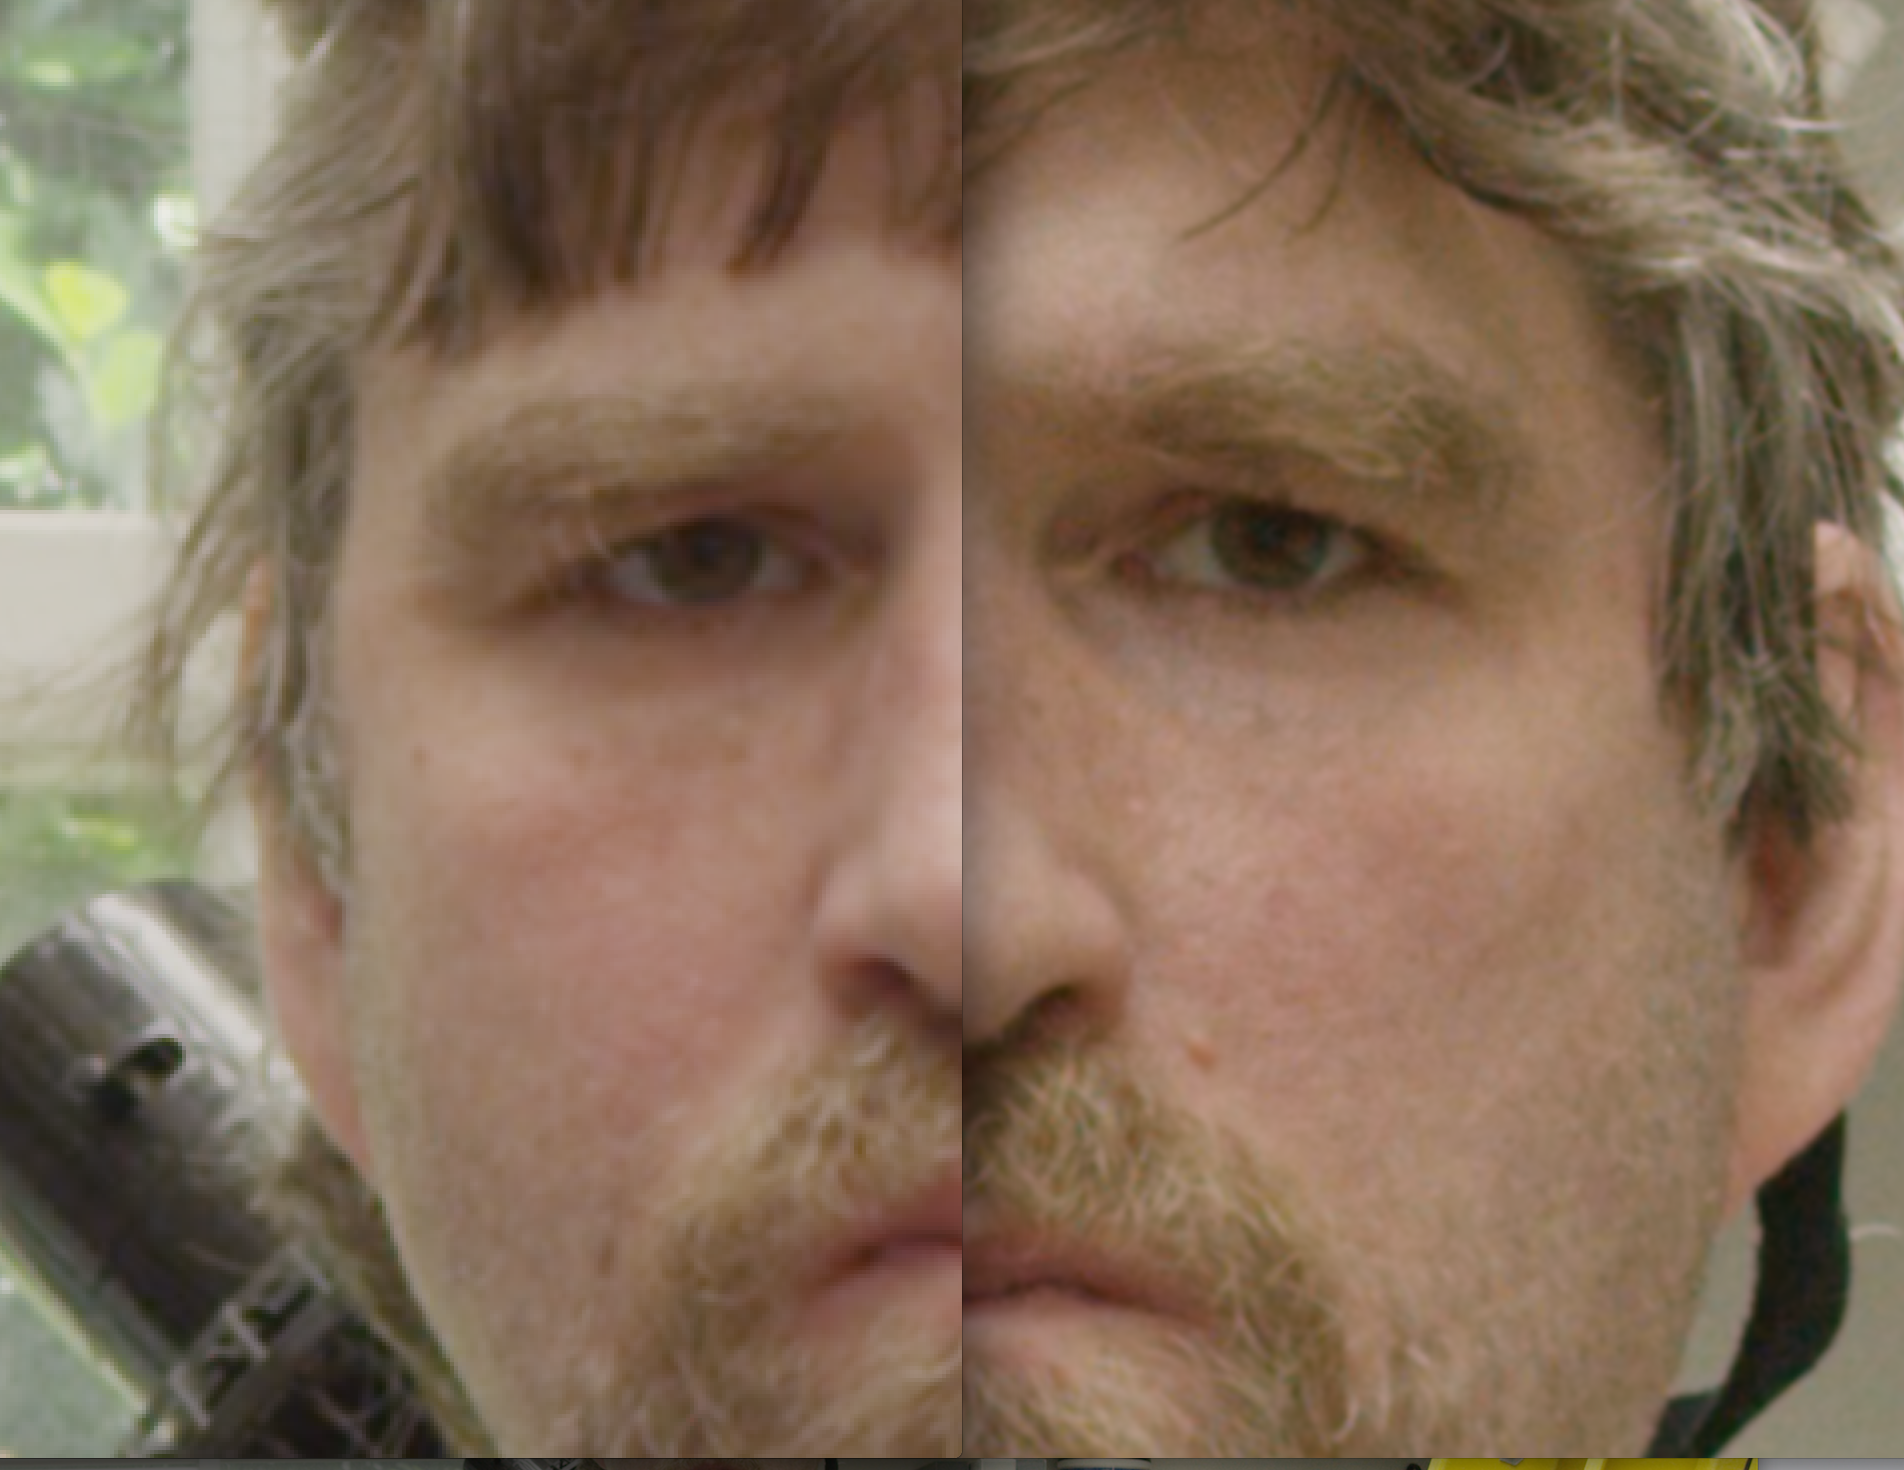
COLOR RENDITION:
Dragon on the right, Epic-MX on left. Dragon set to Dragoncolor Epic MX set to REDcolor3 More detail in Dragon, and slightly less red tint to the skin.
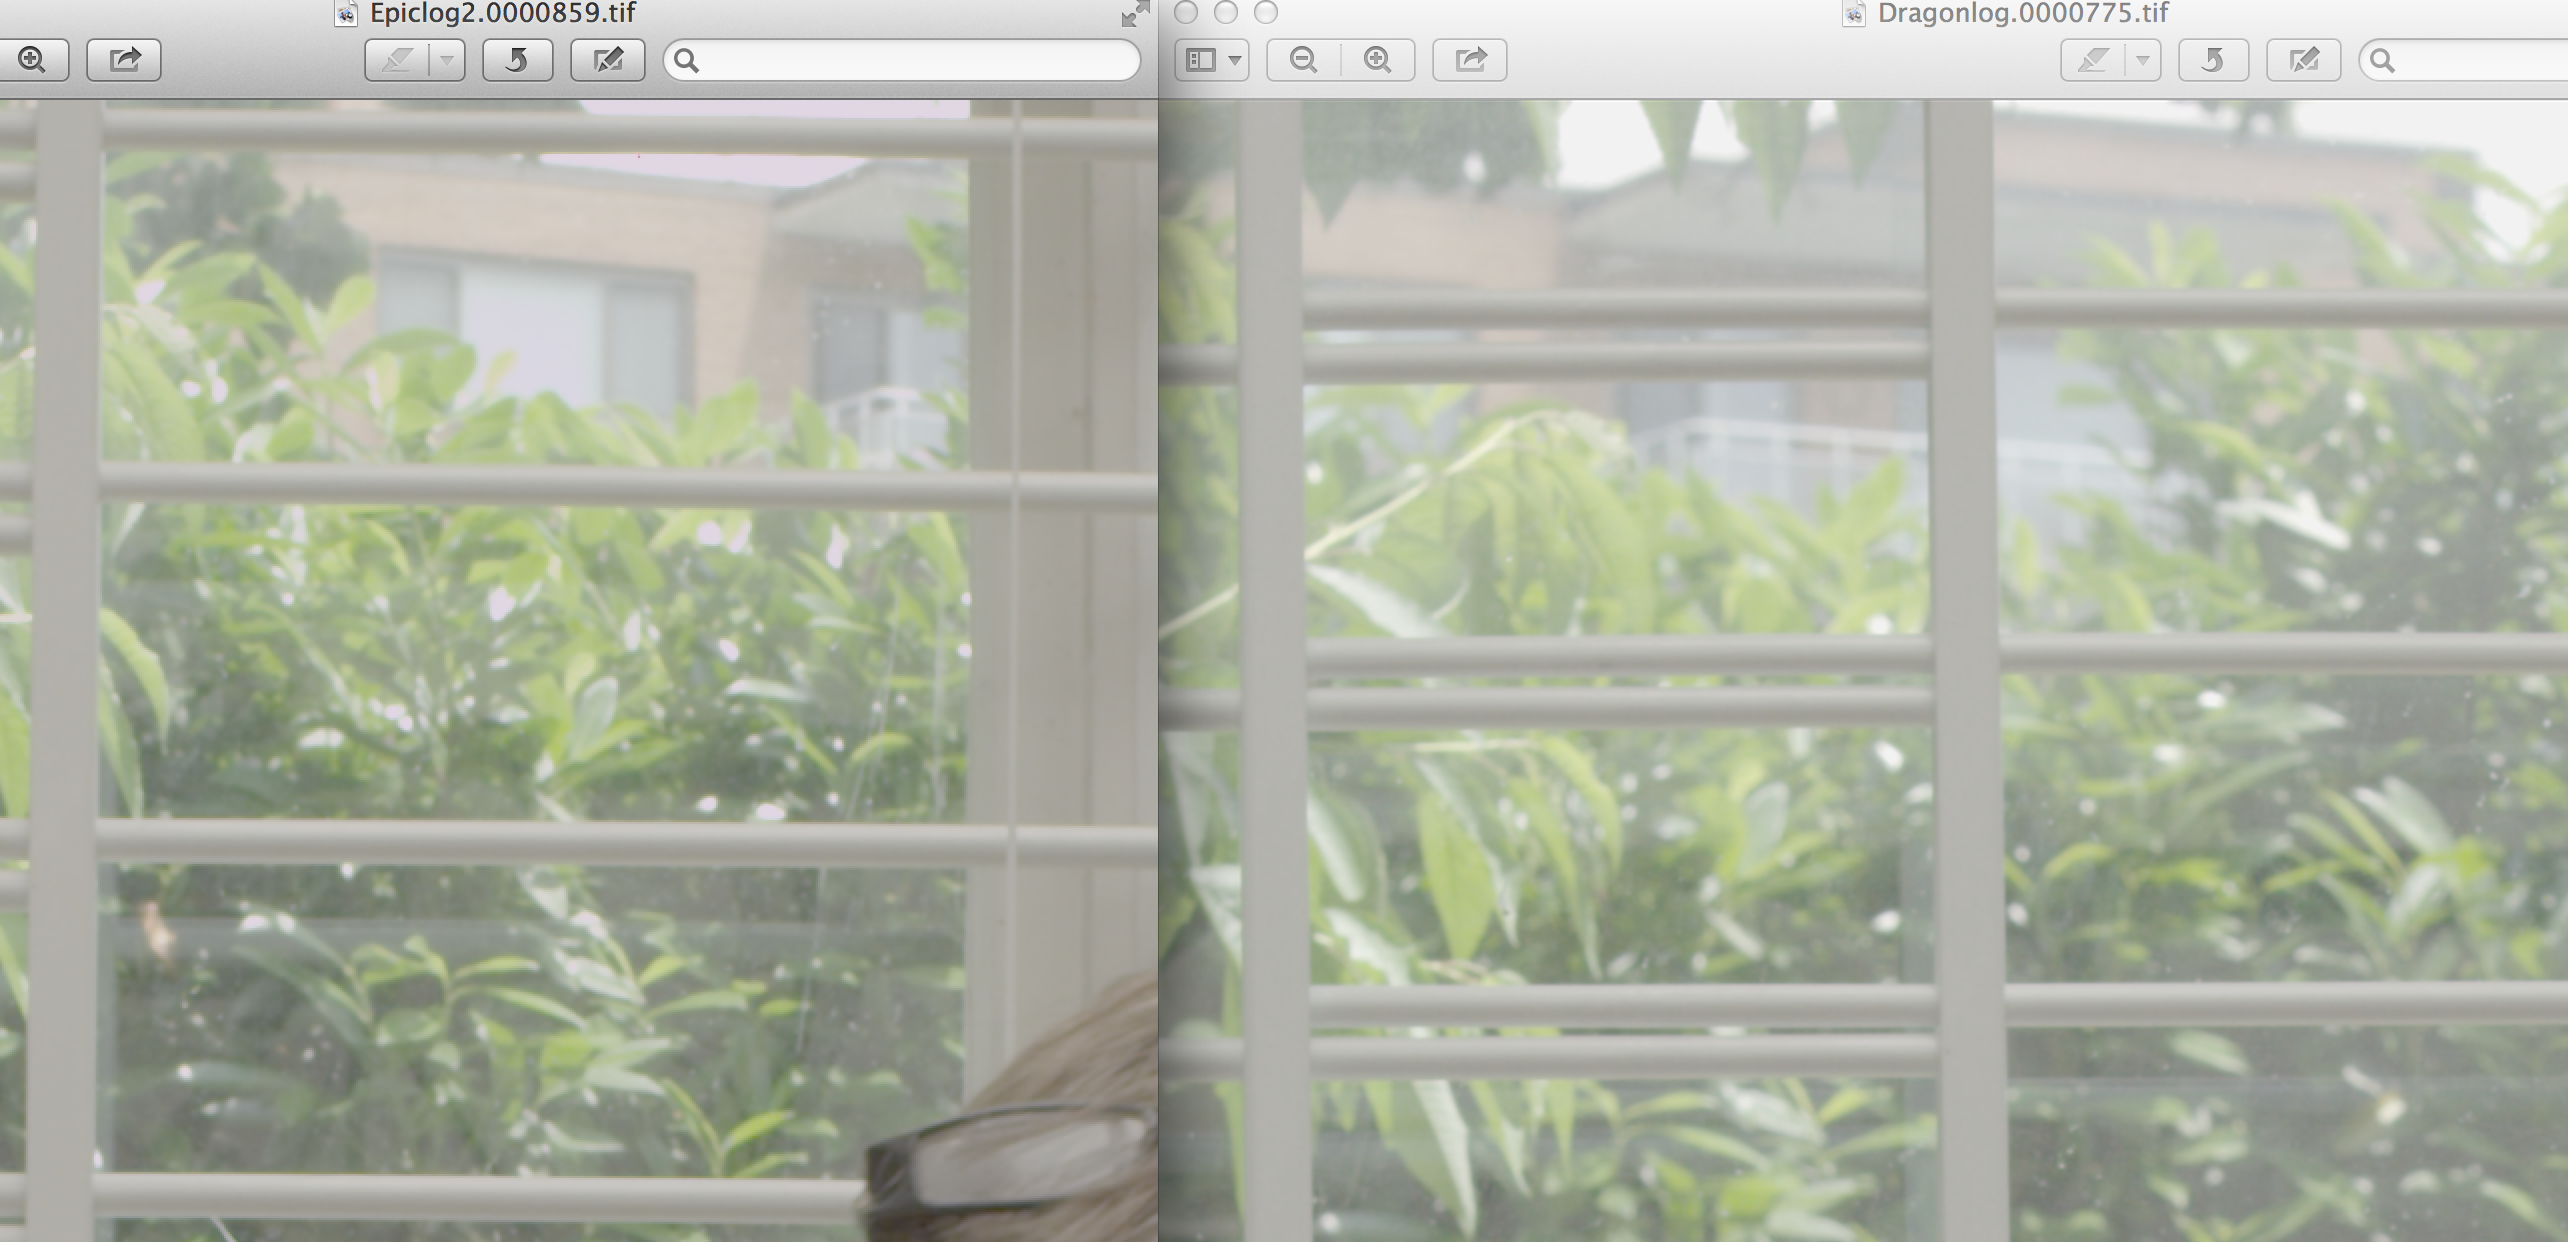
HIGHLIGHTS:
Now here is a detail of the highlights: Dragon on the right, Epic on the left. Both set to REDgamma3. slightly more highlight detail on the Dragon chip as expected.
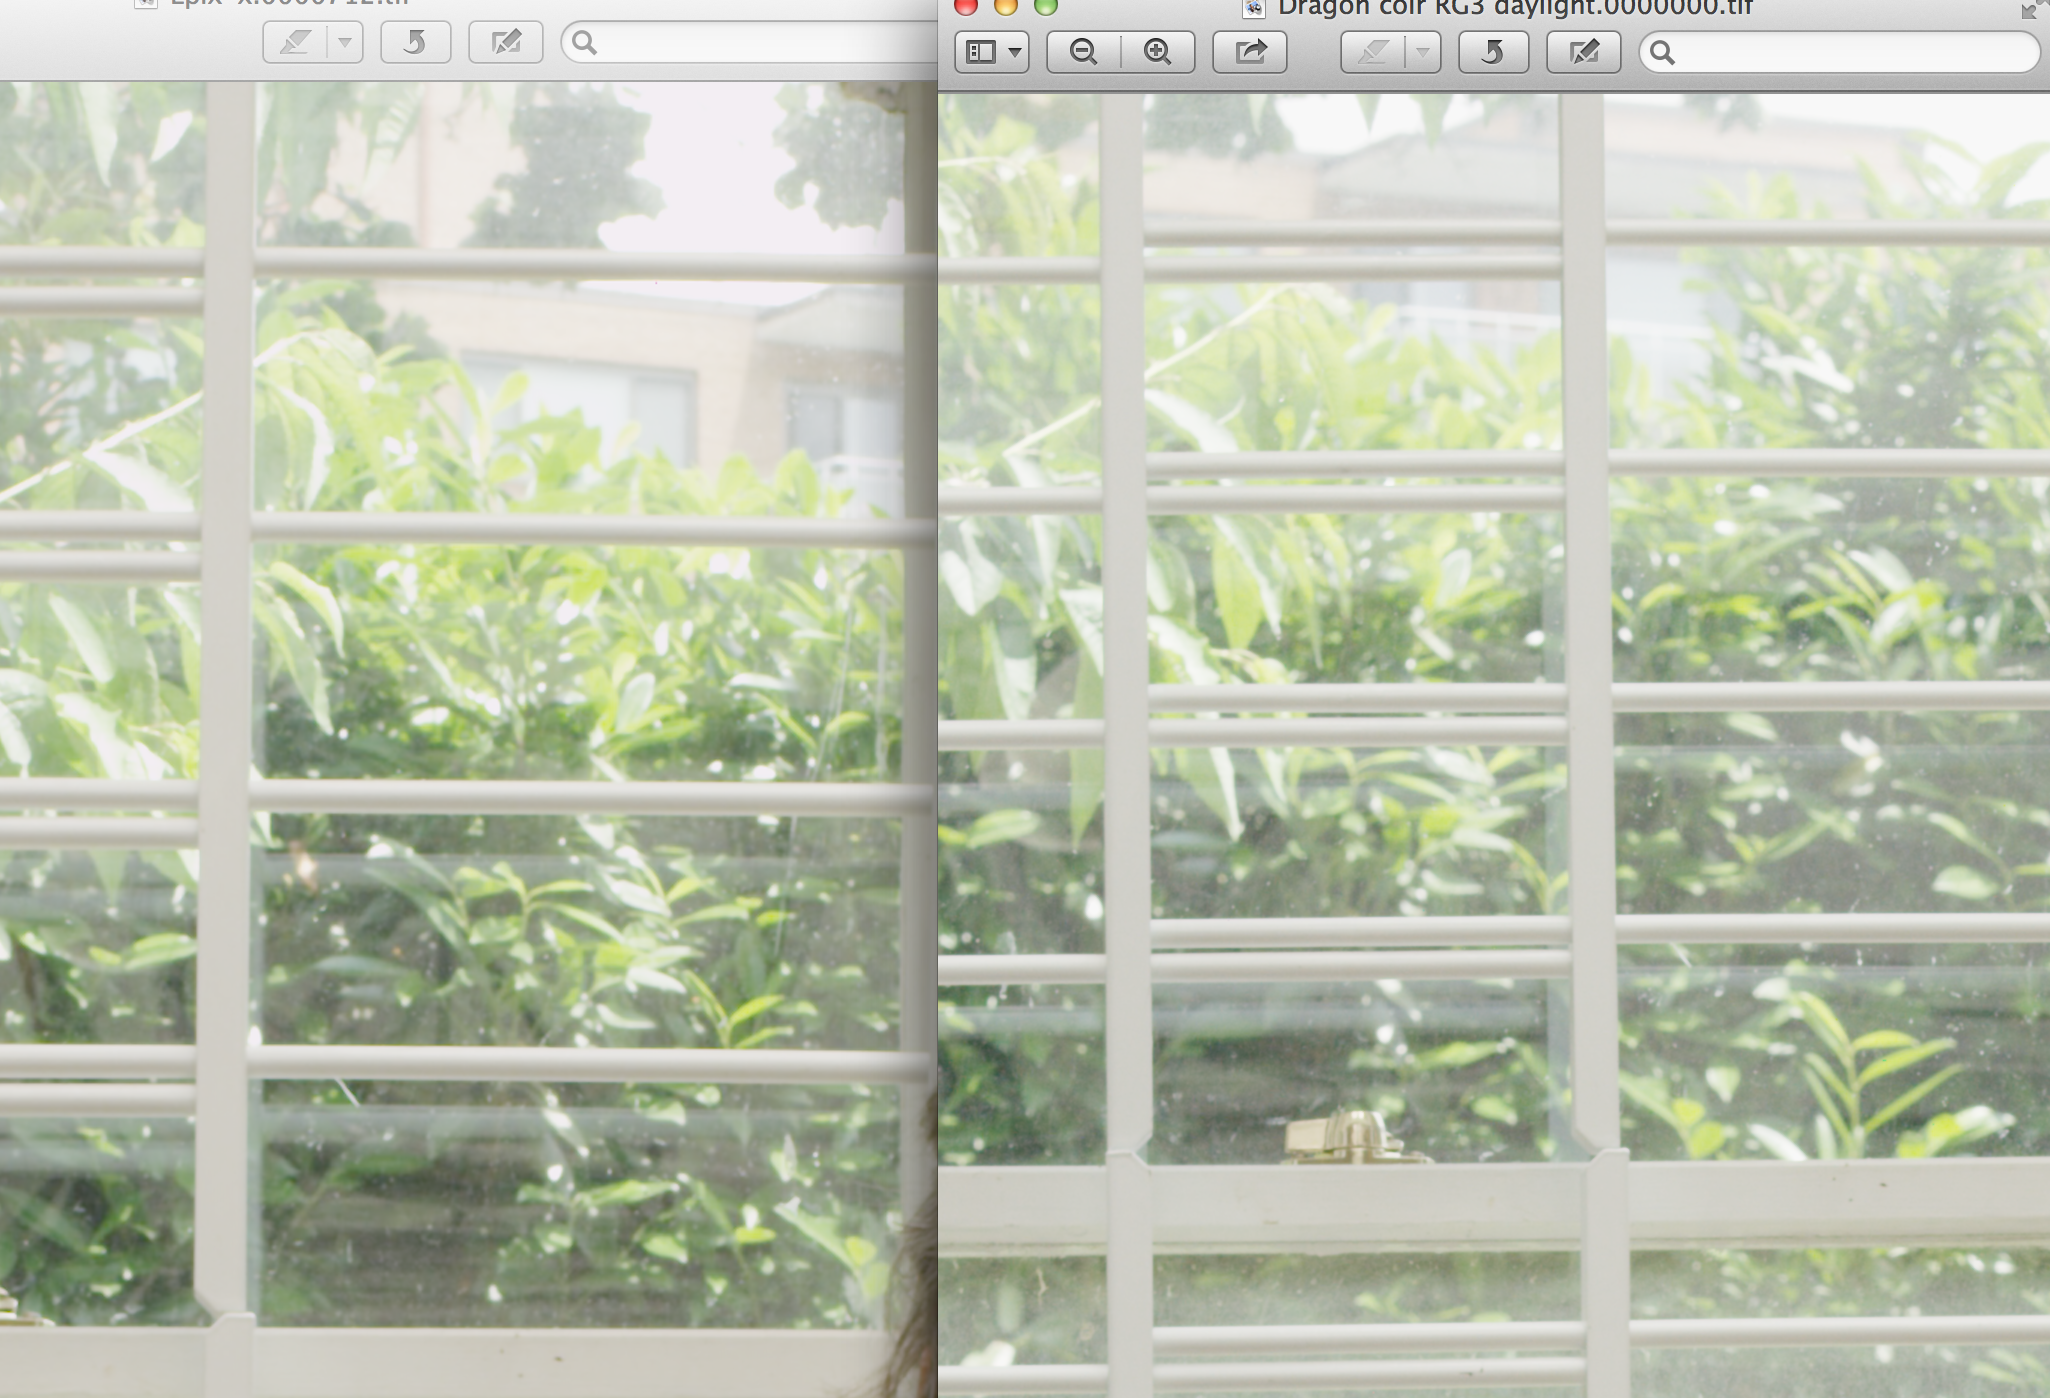
Don’t be fooled into using REDgamma 4 just because it is better.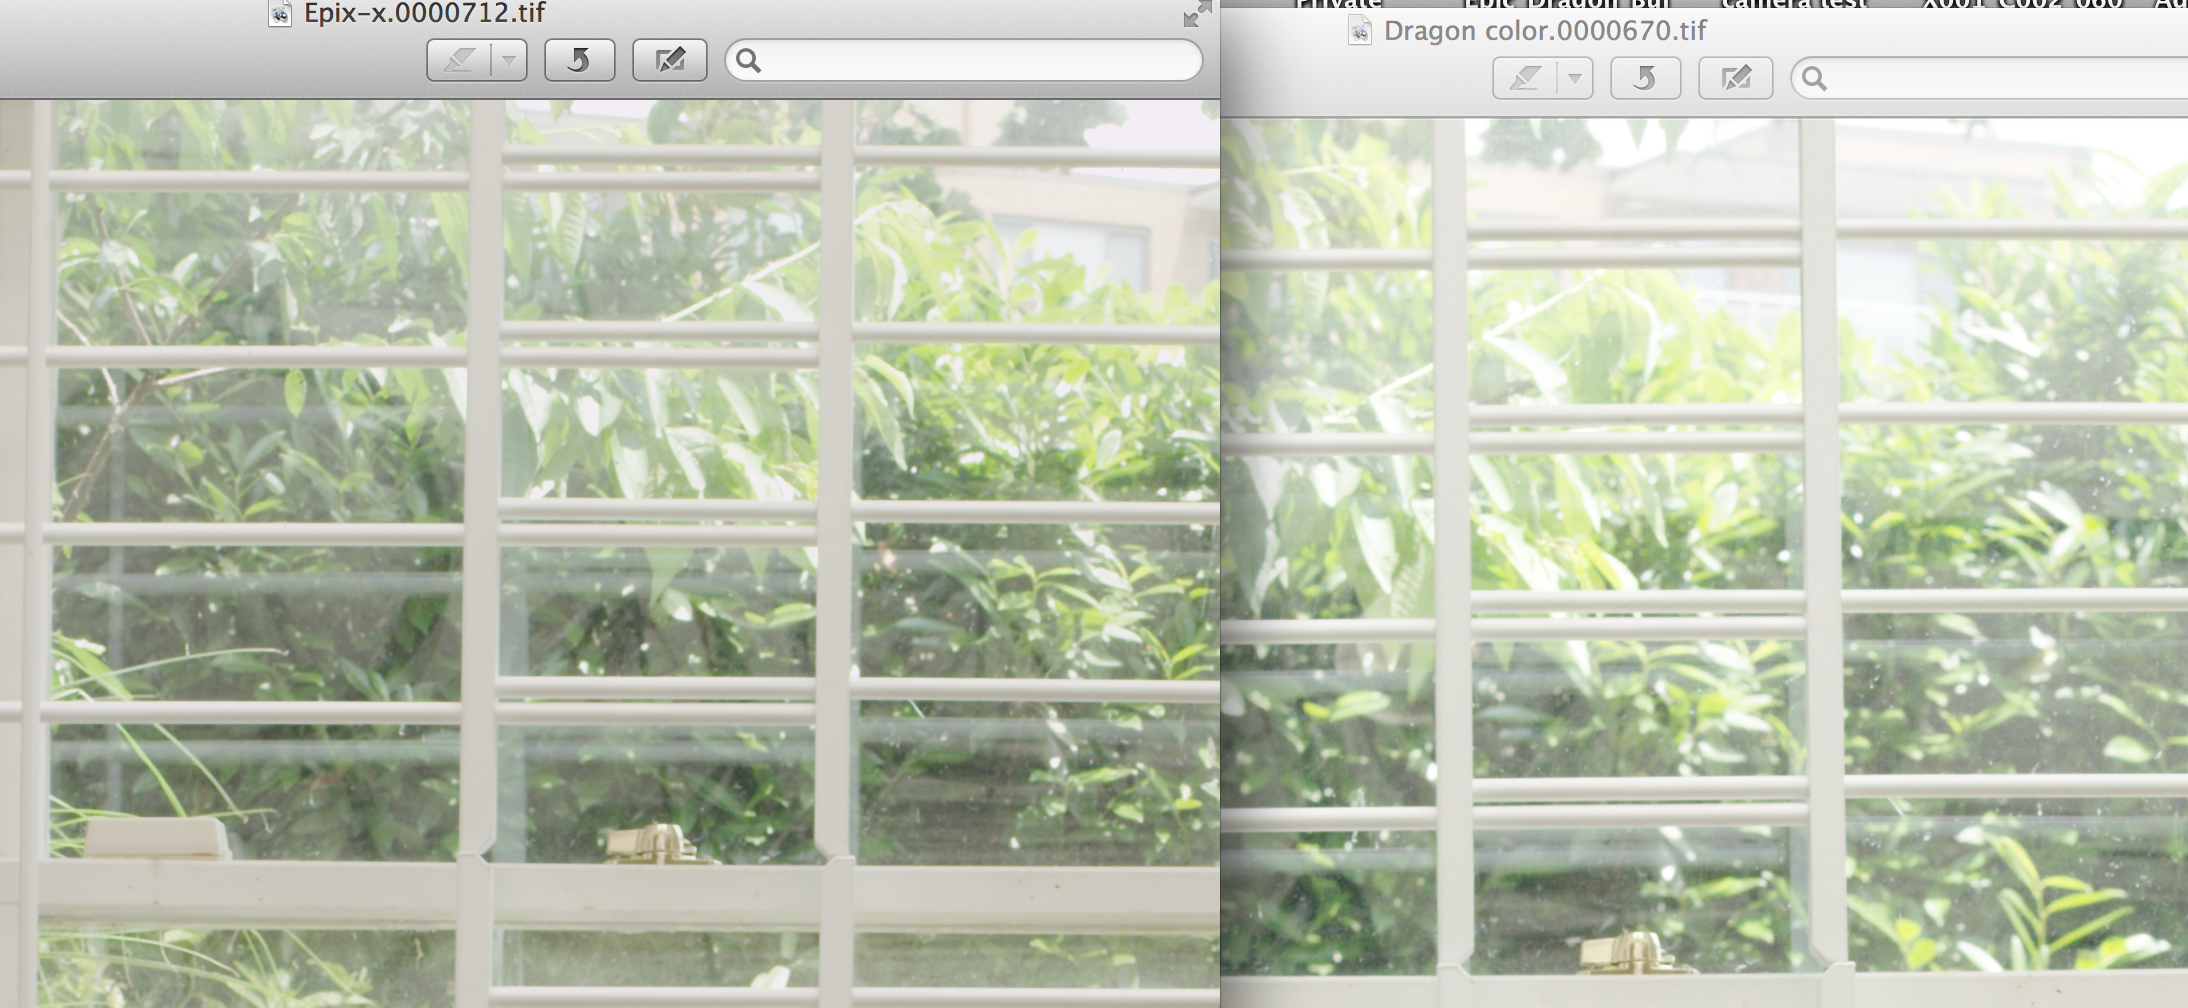 Here is the same footage
but Dragon chip is rendered at REDgamma4. It is very hard to tell which chip has the advantage in this scenario.brick looks about the same, maybe slight advantage Dragon, but leaves look hotter on the Dragon.
Now here is the same thing in REDlogfilm. You will see the Epic MX chip clips magenta showing the white is clipping. Not so in the Dragon. as you might expect.
BIG SURPRISE: NOISE LEVEL:

This is Epic MX on left and Dragon on the right. both at 5600K, 800 ISO, 8:1 compression. Dragon at 6KHD and Epic-MX at 5KHD.
This was the big surprise. The Dragon Epic was sharper, as was to be expected as it’s max resolution was better than the MX (6KHD in this case vs 5KHD) but there was more noise and pattern in the Dragon footage. This was alarming as a year ago the Dragon chip had been advertized as 2000 ISO was as quiet as 800 ISO in the MX chip. What the hell? I paid over 8 grand to get MORE noise?
I went over to REDUSER.net and fund someone else had done essentially the same test as I had done and got the same results. if you are into flogging yourself, here is the link:
http://www.reduser.net/forum/showthread.php?117701-DRAGON-vs-EPIC-MX-Noise-NOT-GOOD
CONCLUSION:
Anyway the long and short of it was this: It is the new OPLF, along with black shading that is to blame. When Dragons first started shipping to anybody (maybe December 2013?) they had what I will call version 1 of the OPLF (Optical Low Pass Filter) which is essentially a piece of custom class/filter in front of the sensor proper to improve performance, reject IR and limit moire. All cameras have some kind of OPLF. after logging some hours with it in the hands of users the following characteristics were found. It did in fact seem pretty clean at 2000 ISO. But there were weird magenta flares, which were very visible in low light situations. A new OPLF was designed that got rid of the magenta flare, improved highlight performance by at least a stop (I have no idea how they did that, possibly in conjunction with new black shading algorithm?) and even better IR performance. Downside? now 2000ISO is noisy. And the whole thing blew up on REDUSER once everyone was getting new Dragons in numbers with the new OPLF.
The good news is that RED will, if you wish, put the old OPLF back in your camera, if that is what you wish. And they claim to have a firmware build in the works (Don’t they always) that will tweak black shading implementation that will address this problem, and that it will come out soon, possibly in a week. But knowing RED that could mean a month. They claim that the new OPLF brings so much to the table that they think the future is in the new OPLF with software tweaks. There even has been talk of user replaceable OPLFs in the future. I can confirm that the IR contamination on this new arrangement is quite good. I had a shoot with an n1.2 and pola (6 stops of ND essentially) and a black dress Marine uniform in full sun and the uniform stayed black. unfortunately I had shot it at 2000 ISO because I had believed that 2000 was the new 800, and that shooting at a higher ISO protected your highlights more. This had been true of the RED One, but is no longer true if RED Dragon.
Also, I rendered both the Dragon and the MX footage to a 1080 ProRes file. the noise difference was indiscernible, which was a pleasant surprise. I did not use any special noise reducing options on either. So for the moment I am content to wait for the new firmware and black shading. Even if it makes all the testing above obsolete. But as always, test test test. Sometimes you find a surprise.


